
Cast Iron Maple Bacon Trail Mix is a skillet-toasted camping snack that combines smoky, savory, sweet, and crunchy elements. The mix is cooked in a skillet over the fire and is intended for trailhead breaks, day hikes, or a simple fireside bowl, offering something more satisfying than a plain bag of hiking snacks while keeping gear and cleanup minimal.
Camp Equipment Notes
A cast iron skillet is the main tool here because it holds steady heat and helps the mix toast evenly without needing a crowded camp kitchen setup. Use a camp stove for easier heat control, or set the skillet over low coals if you are already doing campfire cooking. Keep a spatula or wooden spoon handy so the sweet coating does not sit too long in one hot spot. For serving, small bowls, enamel mugs, or reusable snack cups make it easier to pass around camp without setting a big open container on the picnic table. During cleanup, wipe the skillet while it is still warm, then pack greasy towels or scraps with your trash before breaking camp.
Why Campers Like This Recipe
The skillet step gives Cast Iron Maple Bacon Trail Mix a warm, toasted edge that bagged trail mix usually does not have. The bacon brings a salty bite, the maple adds a glossy sweetness, and the crunchy pieces help it feel substantial after a hike or while waiting for dinner to finish. It is also flexible for campsite timing: make it after breakfast with the skillet already out, stir up a small batch for an afternoon snack, or cool it completely and portion it for the trail. Since it is eaten by the handful or from cups, there are no plates to scrub and no complicated serving setup.
Make-Ahead and Camp Prep Tips
For smoother camp prep, measure the dry mix into a zip-top bag or lidded container at home, then pack the maple and cooked bacon separately if the recipe calls for adding them at camp. If using bacon that needs chilling, keep it in the cooler until you are ready to cook. You can also cook the bacon at home, chill it, and finish the toasting step at the campsite for faster assembly. For a day hike, let the trail mix cool fully before packing so steam does not soften the crunchy pieces inside the bag.
Storage Tips
Once cooled, store Cast Iron Maple Bacon Trail Mix in an airtight container or zip-top bag. If it includes bacon, keep longer-held portions in the cooler and pull out only what you plan to eat soon. Warm weather can soften the maple coating, so avoid leaving the bag in direct sun or in a hot vehicle. For trail use, pack smaller portions instead of one large bag; that keeps the texture better and makes it easier to tuck into a day pack. Pack out any leftovers or sticky bags during cleanup.
Cast Iron Maple Bacon Trail Mix FAQ
How should I pack Cast Iron Maple Bacon Trail Mix so it stays crunchy on the trail?
Cool it completely before sealing it, then portion it into small bags or rigid containers. If it goes into a pack while still warm, trapped steam can make the pretzels or nuts lose their snap. For a short hike, keep it near the top of the pack where it will not get crushed.
Can I make Cast Iron Maple Bacon Trail Mix over a campfire instead of a stove?
Yes, but use a low, steady bed of coals rather than tall flames. Cast iron holds heat well, and the maple can darken quickly if the pan gets too hot. Stir often, move the skillet away from hot spots as needed, and let the mix cool before serving or packing.
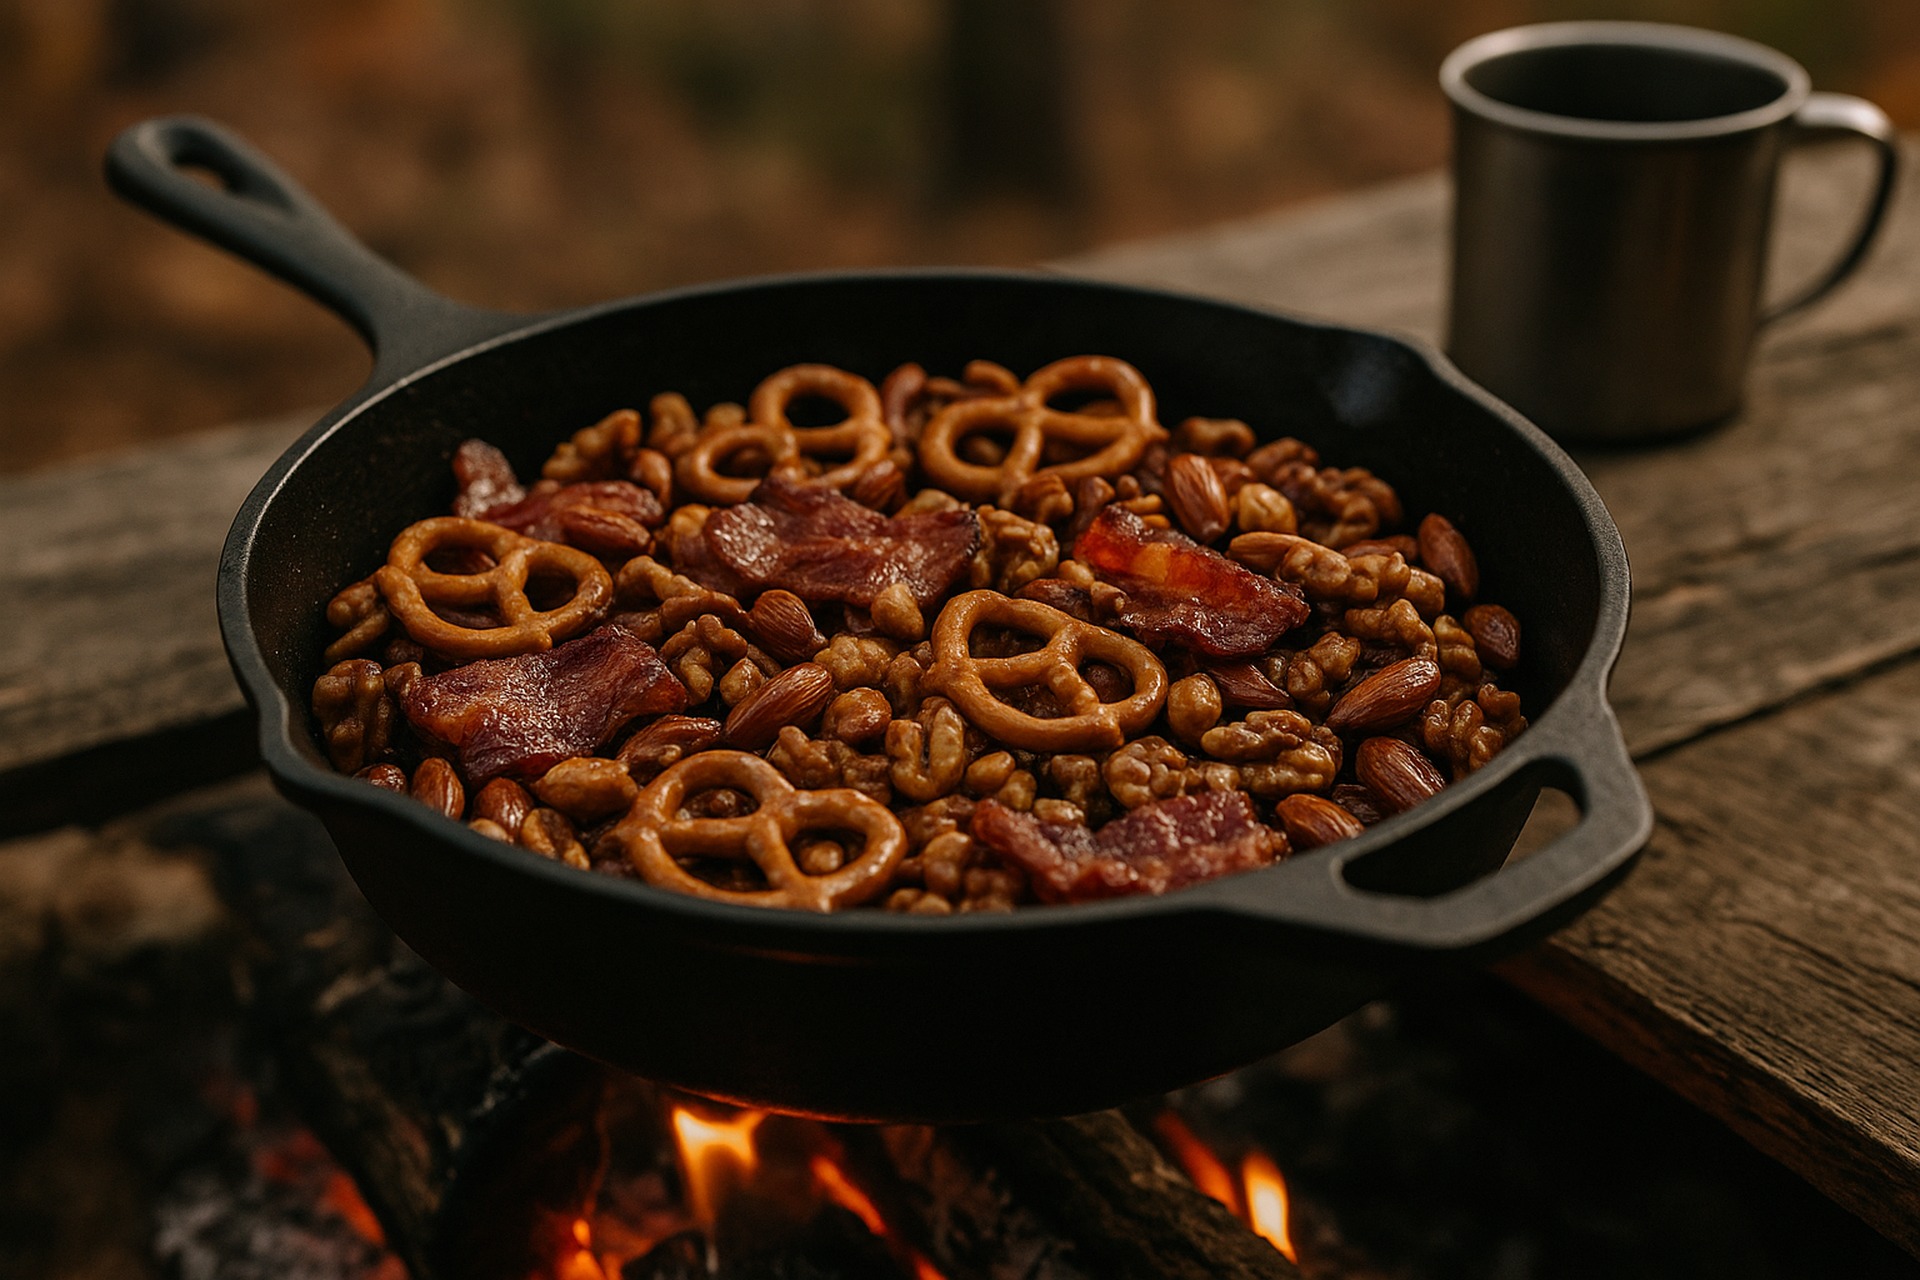
Cast Iron Maple Bacon Trail Mix
Equipment
- Cast iron skillet
- Spoon
- Paper towels
Ingredients
- 4 slices bacon chopped
- 3/4 cup mixed nuts unsalted
- 1 cup mini pretzels
- 2 tablespoons maple syrup
- 1/2 teaspoon black pepper
Instructions
- Cook bacon in skillet over medium coals until crisp. Remove with a slotted spoon and drain on paper towels, reserving 1 tablespoon bacon fat.
- Add mixed nuts to skillet; toast in the bacon fat for 2-3 minutes.
- Drizzle with maple syrup, add pepper, and toss to coat. Add pretzels and cooked bacon; stir well.
- Cook 2 more minutes, stirring constantly, until everything is glazed.
- Spread out to cool before packing.