
No-Cook Italian Tuna & Bean Pitas combines savory tuna, creamy white beans, a tangy lemon dressing, and crisp greens into a no-cook camping lunch that assembles quickly when the stove stays packed. The filling can be kept chilled and spooned into pitas just before eating, making it useful for warm afternoons, travel days, or a quick stop between hikes.
Cooking Gear Notes
You do not need much more than a small mixing bowl, spoon, knife, cutting board, and a cooler with ice packs. If you want fewer dishes, mix the filling in a lidded container or sturdy zip-top bag and serve straight from there. Pack pita bread in a dry bag or hard-sided container so it does not get crushed under cooler items. Napkins or a small stack of reusable plates help with serving, and cleanup is mostly a quick wipe of the mixing container before breaking camp.
Why This Works at Camp
The pita format keeps lunch handheld, tidy, and easy to portion around camp. Tuna and beans make the filling hearty without needing a burner, while the bright dressing keeps the texture from feeling heavy. Keeping the greens and pitas separate until serving helps preserve crunch and prevents soggy bread. It also fits well into camp lunches where people may be eating at different times, since each pita can be assembled as needed instead of making a large platter that sits out in the sun.
Prep Ahead Suggestions
For make-ahead camping food, mix the dressing at home and pack it in a small leakproof jar. Drain and portion the tuna and beans ahead if that fits your cooler setup, or bring shelf-stable pouches and cans to open at the campsite. Washed greens should be packed with a paper towel in the container to manage moisture. If you are leaving early, you can combine the tuna-bean filling before the trip and keep the pitas separate until lunch.
Leftovers and Storage
Keep any mixed filling in the cooler and eat it the same day when possible, especially once the dressing has been added. Store pita bread outside the cooler unless the weather is extremely hot and humid; cold pitas can turn stiff and damp. If the filling has been sitting out during lunch, pack out what is left rather than trying to save it. Extra chilled filling can be scooped onto crackers or greens later in the day if it has stayed cold.
No-Cook Italian Tuna & Bean Pitas Tips & Questions
How should I pack No-Cook Italian Tuna & Bean Pitas so the pita bread does not get soggy?
Pack the filling, greens, and pitas separately. Keep the tuna and bean mixture in a sealed cooler container, place greens in their own bag with a paper towel, and store pitas in a dry spot in the food bin. Assemble each pita right before lunch so the bread stays soft but not wet.
Can the tuna and bean filling be mixed at the campsite without making a lot of dishes?
Yes. Use the same lidded container you packed the ingredients in, add the dressing, close the lid, and gently shake or stir. A single spoon is enough for mixing and serving, which keeps cleanup simple after lunch.
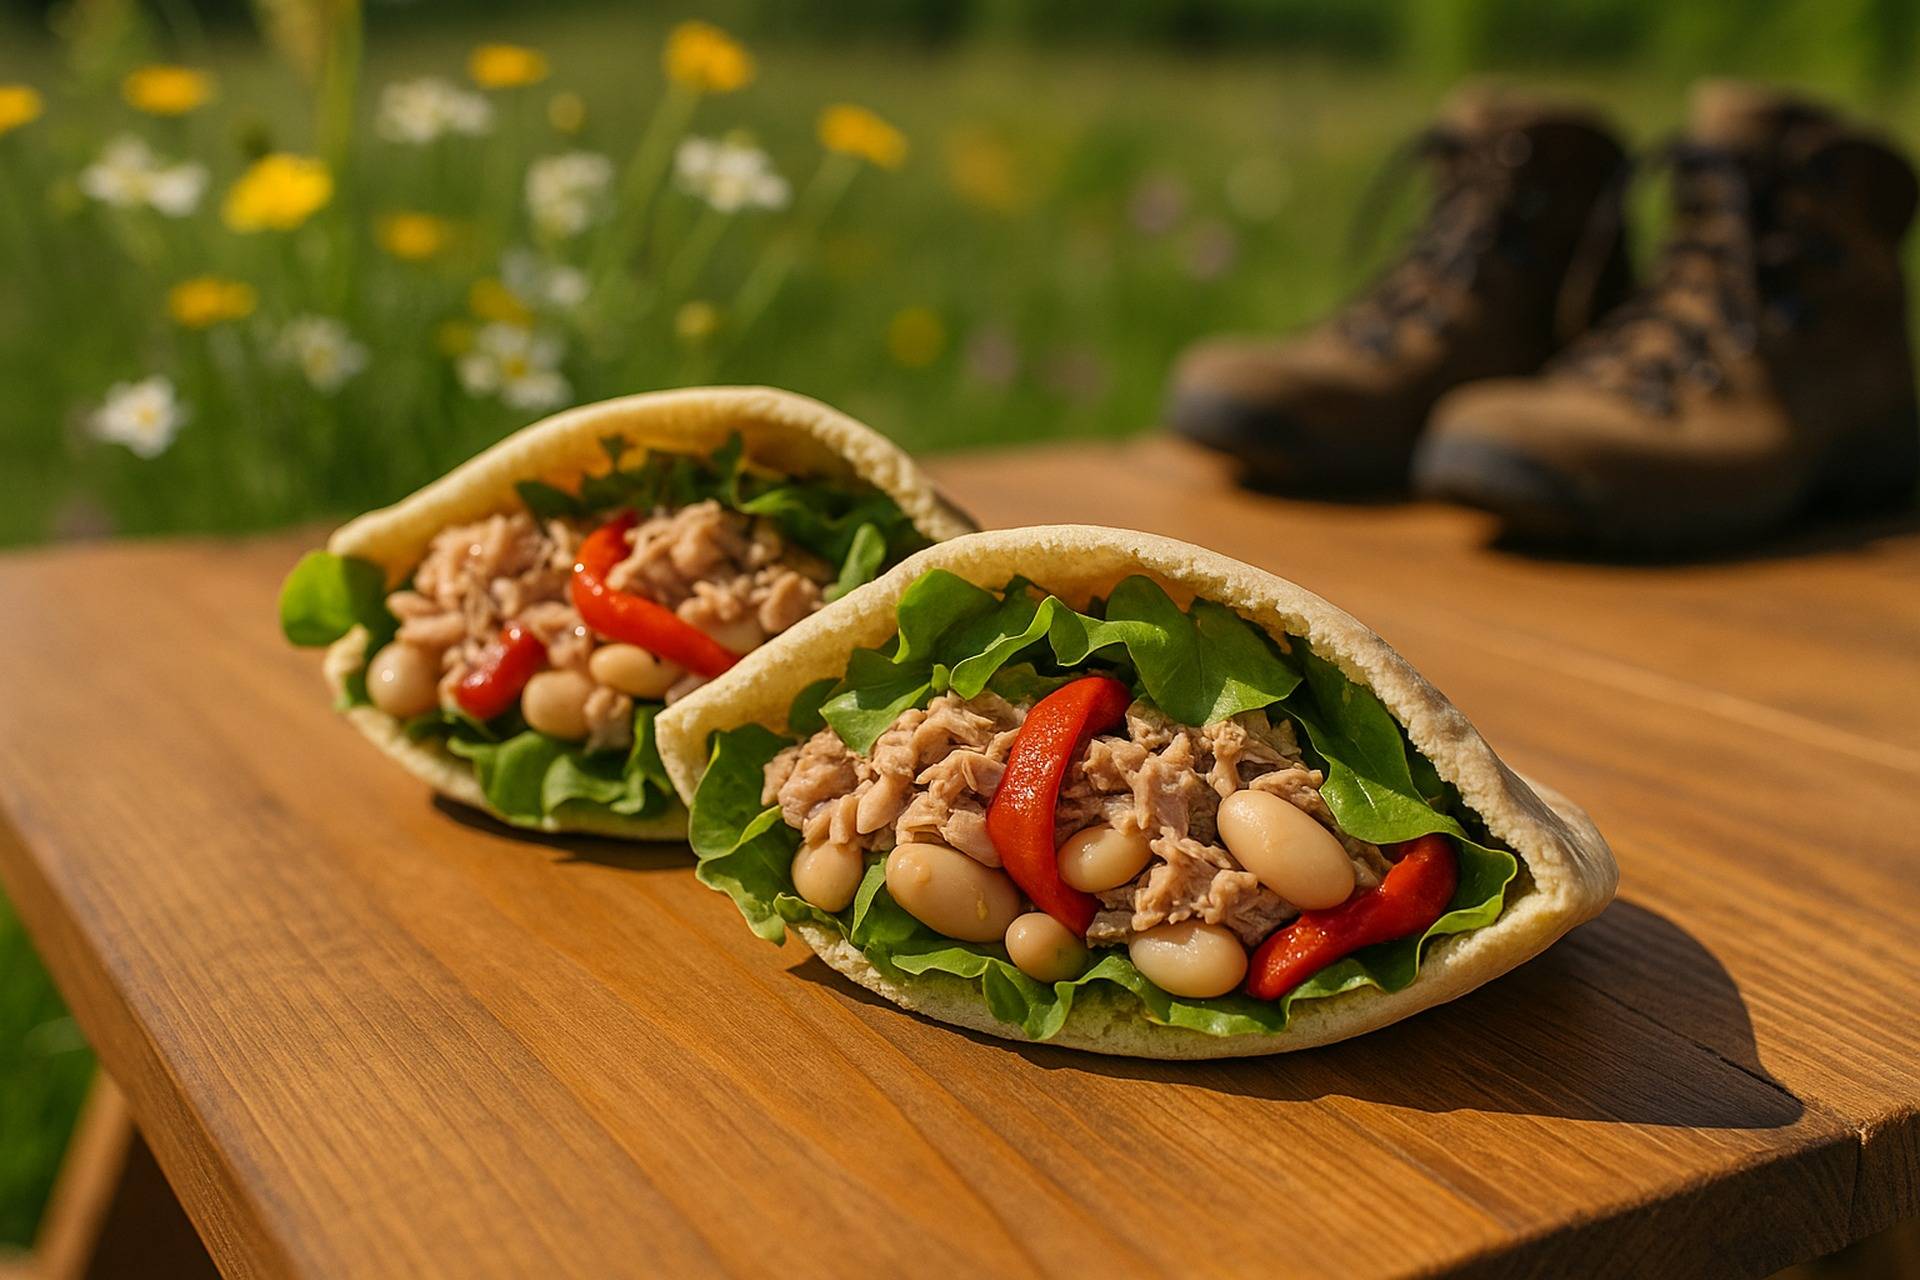
No-Cook Italian Tuna & Bean Pitas
Equipment
- Knife
- Bowl
Ingredients
- 2 pita breads
- 1 can tuna drained
- 1/2 cup cannellini beans drained
- 1/4 cup roasted red pepper sliced
- 1/2 cup baby spinach
- 2 tablespoons olive oil
- 1 tablespoon lemon juice
- 2 tablespoons fresh parsley chopped
- 1/4 teaspoon salt
Instructions
- In a bowl, mix tuna, beans, roasted peppers, olive oil, lemon juice, parsley, and salt until combined.
- Slice pitas open, line with spinach, and fill with tuna-bean mixture.
- Wrap in foil or parchment for easy eating.
- outdoor_notes
- All ingredients are shelf-stable for a day’s hike. Pitas can be assembled at camp or packed whole for grab-and-go trail lunches.
- image_prompt
- Italian tuna and bean pita halves on a wooden table, visible roasted pepper and greens, sunlight streaming, wildflowers and hiking boots in background, vibrant outdoor lunch scene, 1920x1280, shallow depth of field, natural food editorial styling.