
This camping dessert combines sweet, creamy, tangy, and crunchy layers in a chilled jar that’s easy to serve after dinner at camp. It’s designed to be portioned, covered, and passed out with spoons when the day has been dusty and the table crowded.
Why Campers Like This Recipe
The jar format keeps the cheesecake layers contained, which helps at the campsite where flat prep space is limited and dessert often happens by lantern light. Individual servings also mean less cutting, fewer shared utensils, and easier cleanup after dinner. Since the filling and crumb layer can be handled without heating, you are not trying to manage a fire, a burner, or a Dutch oven dessert while people are already settling in for the evening. The covered jars stack neatly in a cooler and can be served straight from the cold storage when the sweet craving hits.
Best Uses Around Camp
- After-dinner camp desserts when you want something chilled and portioned instead of a skillet or foil-packet sweet.
- Car camping dessert planning, especially when you have cooler space and want jars that can ride safely in a bin or cooler basket.
- Make-ahead camping food for the first night of a trip, when dessert should be ready before the tent setup and dinner dishes take over the table.
Camp Kitchen Notes
Pack the jars or lidded cups upright so the layers stay tidy on the drive. A small spatula, spoon, or butter knife is usually enough for assembly at camp if you choose to build them there. Keep a dedicated cooler spot for the jars so they are not buried under heavy drinks or ice bags. For serving, set out spoons and a small trash bag or wash basin before opening the cooler, then lids can go right back on any unfinished portions during cleanup.
Prep Ahead Suggestions
The crumb base, creamy filling, and topping can be prepared at home and packed separately if you want the best texture. Assemble shortly before serving for a crisper crumb layer, or build the jars in advance when convenience matters more than crunch. If using fruit topping, keep it in a leakproof container and spoon it on after dinner so the jars stay neat in the cooler. Labeling the lid tops helps if you make a mix of plain and topped jars for different campers.
Storage Tips
Keep Easy Camp No-Bake Cheesecake Jars cold until serving, and return leftovers to the cooler promptly. They are best eaten the same day or within the next day because the crumb layer softens as it sits. Store toppings separately when possible, and pack out any leftover jars, lids, and disposable spoons before breaking camp. If the cooler ice melts, keep the jars above standing water in a sealed container or cooler basket.
Easy Camp No-Bake Cheesecake Jars Tips & Questions
How do I keep Easy Camp No-Bake Cheesecake Jars from getting soggy at camp?
Keep the crumb layer dry until close to serving when you can. If the jars are assembled at home, use firm, even layers and keep them cold and upright. Add fruit topping after dinner instead of before the drive so extra juice does not soak through the creamy layer and into the crumbs.
What is the easiest way to serve Easy Camp No-Bake Cheesecake Jars around a busy picnic table?
Chill the jars with lids on, then pull out only the number you need. Hand them out with spoons and leave the cooler closed while people eat. The individual portions reduce messy scooping, and the lids give you a quick way to cover any unfinished dessert during cleanup.
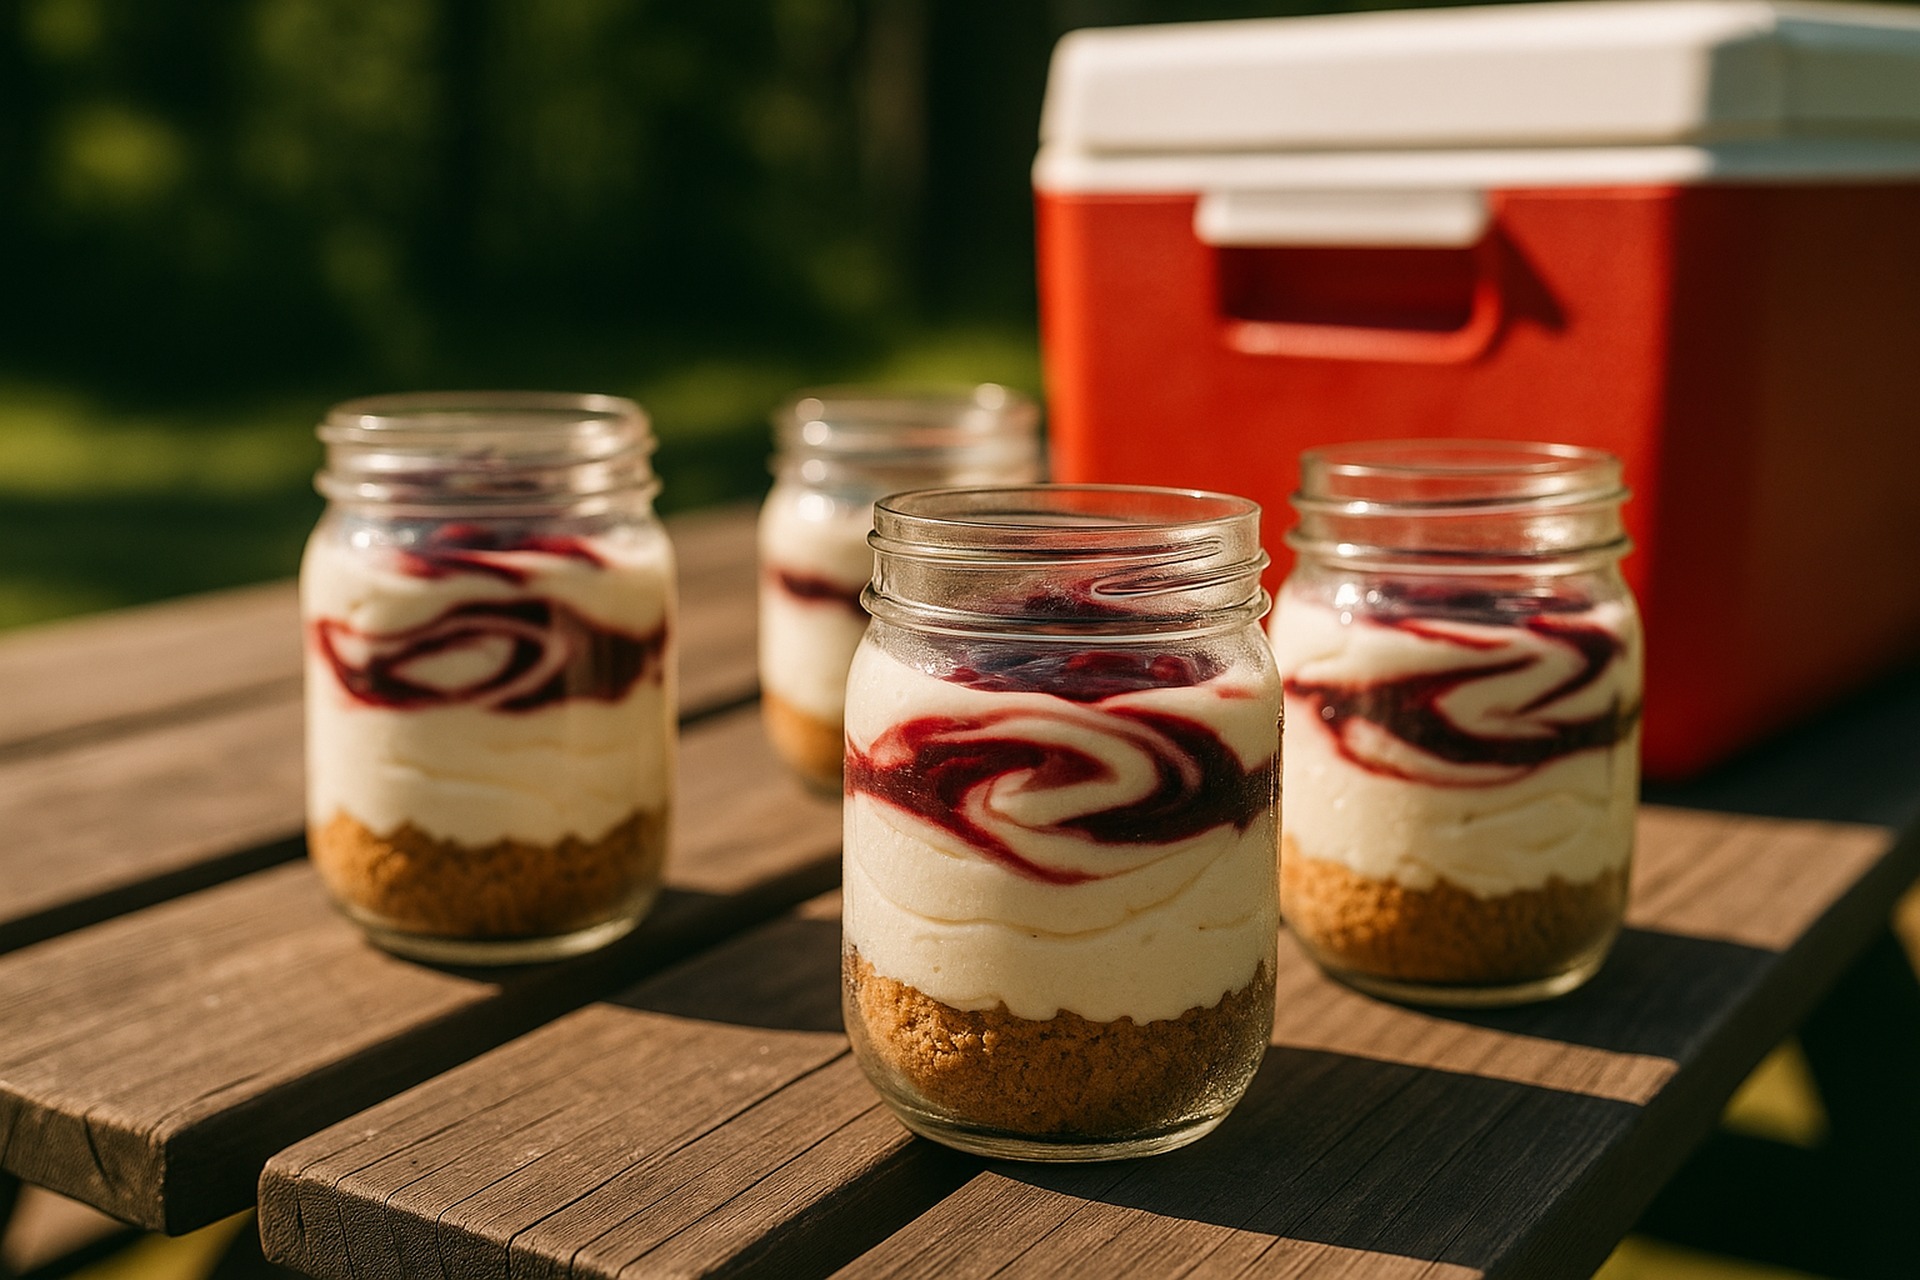
Easy Camp No-Bake Cheesecake Jars
Equipment
- 6 small jars or cups
- Mixing bowl
- Spoon
Ingredients
- 6 graham crackers crushed
- 1/2 cup cream cheese softened
- 1/4 cup plain Greek yogurt
- 1/4 cup powdered sugar
- 1 tsp vanilla extract
- 1/2 cup mixed berry jam or preserves
Instructions
- In a bowl, mix softened cream cheese with yogurt, powdered sugar, and vanilla until smooth.
- Spoon crushed graham crackers evenly into bottoms of 6 jars/cups.
- Top with cheesecake mixture, then finish with a spoonful of berry jam or preserves.
- Seal jars or cover with lids/foil and chill in cooler at least 10 minutes before serving.